
In this tutorial, we'll learn how to set up Mattermost on Ubuntu 24.04 server.
Mattermost is an open-source, self-hosted messaging platform that empowers teams with secure, private, and flexible communication—offering a robust alternative to cloud-based tools.
Below is a detailed, step-by-step guide to installing Mattermost on Ubuntu 24.04 using PostgreSQL as your database backend. This guide covers installing PostgreSQL, creating a dedicated database and user for Mattermost, configuring Mattermost to use PostgreSQL, setting up an Nginx reverse proxy, and securing your installation with SSL via Certbot.
Prerequisites
Before you begin, make sure that:
- A Ubuntu 24.04 installed dedicated server or KVM VPS.
- Your DNS is set up so that your domain (for example, mattermost.example.com) points to your server.
- You have sudo privileges.
- You have basic familiarity with the Linux command line.
Set Up Mattermost on Ubuntu 24.04
1. Update Your System
Before installing any new packages, update your package lists and upgrade any existing software:
sudo apt update && sudo apt upgrade -y
Keeping your system current ensures you have the latest security patches and software versions.
2. Install Required Dependencies
For this setup, you’ll need PostgreSQL for the database, Nginx for serving web traffic, and Certbot for SSL certificates.
Install PostgreSQL, Nginx, and Certbot with:
sudo apt install postgresql postgresql-contrib nginx certbot python3-certbot-nginx -y
This command installs:
- PostgreSQL: a powerful, open-source object-relational database system.
- Nginx: a high-performance web server and reverse proxy.
- Certbot: a tool to obtain and renew free SSL certificates from Let’s Encrypt.
3. Create a PostgreSQL Database for Mattermost
a. Access the PostgreSQL Shell
Switch to the PostgreSQL superuser (postgres) and launch the PostgreSQL interactive terminal:
sudo -u postgres psql
b. Create the Database and User
Within the PostgreSQL prompt, execute the following commands:
-- Create a database named "mattermost"
CREATE DATABASE mattermost;

-- Create a user "mmuser" with a secure password; replace 'yourStrongPassword' with an actual strong password
CREATE USER mmuser WITH PASSWORD 'yourStrongPassword';

-- Grant all privileges on the mattermost database to mmuser
GRANT ALL PRIVILEGES ON DATABASE mattermost TO mmuser;
Connect to the Mattermost Database:
\c mattermost
Run the following commands to grant all privileges on the "public" schema to "mmuser":
GRANT ALL ON SCHEMA public TO mmuser;
ALTER DEFAULT PRIVILEGES IN SCHEMA public GRANT ALL ON TABLES TO mmuser;
ALTER DEFAULT PRIVILEGES IN SCHEMA public GRANT ALL ON SEQUENCES TO mmuser;
After these commands, exit the PostgreSQL shell by typing:
\q
This process creates an isolated database and user so that Mattermost has its own secure environment to store data.
4. Download and Install Mattermost
a. Download the Latest Mattermost Package
Switch to the /opt directory and download the Mattermost tarball. First, navigate to /opt:
cd /opt
Then download the latest Mattermost release from the official Mattermost website. (Check Mattermost’s download page for the current version and replace X.Y.Z with that version number.)
sudo wget https://releases.mattermost.com/10.5.1/mattermost-10.5.1-linux-amd64.tar.gz
b. Extract and Set Up Mattermost
Extract the tarball:
sudo tar -xvzf mattermost-10.5.1-linux-amd64.tar.gz
Move the extracted folder to a dedicated location:
sudo mv mattermost /opt/mattermost
Create directories for plugins and client plugins:
sudo mkdir /opt/mattermost/plugins
sudo mkdir /opt/mattermost/client/plugins
c. Create a Dedicated System User
For security reasons, create a system user to run Mattermost:
sudo useradd --system --user-group mattermost
sudo chown -R mattermost:mattermost /opt/mattermost
This isolates Mattermost’s processes from other system services.
5. Configure Mattermost to Use PostgreSQL
Mattermost uses a JSON configuration file located at /opt/mattermost/config/config.json.
Open the file with your favorite text editor:
sudo nano /opt/mattermost/config/config.json
Locate the "SqlSettings" section and update it to use PostgreSQL. Set the "DataSource" string accordingly. For example:
"SqlSettings": {
    "DriverName": "postgres",
    "DataSource": "postgres://mmuser:yourStrongPassword@localhost:5432/mattermost?sslmode=disable&connect_timeout=10",
    ...
},
Here’s a breakdown of the DataSource string:
- postgres:// – indicates the protocol.
- mmuser:yourStrongPassword – credentials for the PostgreSQL user.
- @localhost:5432 – the PostgreSQL host and default port.
- /mattermost – the database name.
- ?sslmode=disable&connect_timeout=10 – connection options (for production, you may want to adjust SSL settings).
Save your changes (in Nano, press CTRL+O and then CTRL+X).
6. Set Up the Mattermost System Service
Create a systemd service file so that Mattermost runs in the background and starts automatically at boot.
Create a new file:
sudo nano /etc/systemd/system/mattermost.service
Paste the following content:
[Unit]
Description=Mattermost
After=network.target
Requires=postgresql.service

[Service]
Type=simple
User=mattermost
Group=mattermost
ExecStart=/opt/mattermost/bin/mattermost
WorkingDirectory=/opt/mattermost
Restart=always
RestartSec=10

[Install]
WantedBy=multi-user.target
Save and exit the file.
Reload systemd to pick up the new service:
sudo systemctl daemon-reload
Start and enable the Mattermost service:
sudo systemctl start mattermost
sudo systemctl enable mattermost
You can check the status of the service with:
sudo systemctl status mattermost
This ensures Mattermost is running as a background service and restarts automatically if it fails.
7. Configure Firewall
If UFW (Uncomplicated Firewall) is active, ensure HTTP and HTTPS traffic is allowed:
sudo ufw allow 'Nginx Full'
8. Configure Nginx as a Reverse Proxy
Nginx will direct web traffic to the Mattermost service running on port 8065 (the default port).
a. Create an Nginx Server Block
Create a new configuration file for Mattermost:
sudo nano /etc/nginx/sites-available/mattermost
Paste the following configuration (replace mattermost.example.com with your actual domain):
server {
    listen 80;
    server_name mattermost.example.com;

    location / {
        proxy_pass http://localhost:8065;
        proxy_set_header Upgrade $http_upgrade;
        proxy_set_header Connection "upgrade";
        proxy_set_header Host $http_host;
        proxy_set_header X-Real-IP $remote_addr;
        proxy_set_header X-Forwarded-For $proxy_add_x_forwarded_for;
        proxy_set_header X-Forwarded-Proto $scheme;
        proxy_read_timeout 90;
    }
}
b. Enable the Nginx Configuration
Enable the new site by creating a symbolic link:
sudo ln -s /etc/nginx/sites-available/mattermost /etc/nginx/sites-enabled/
Test the configuration:
sudo nginx -t
If the test is successful, reload Nginx:
sudo systemctl reload nginx
9. Secure Your Site with SSL Using Certbot
For secure communication, obtain a free SSL certificate from Let’s Encrypt.
Run Certbot with the Nginx plugin:
sudo certbot --nginx -d mattermost.example.com
Follow the prompts:
- Enter your email address.
- Agree to the terms of service.
- Allow Certbot to update your Nginx configuration for SSL.
Once complete, Certbot will automatically reload Nginx with the new HTTPS settings. Visit https://mattermost.example.com to verify your secure connection.
For future SSL certificate renewals, you can test renewal with:
sudo certbot renew --dry-run
10. Final Adjustments and Testing
At this stage, Mattermost should be running with PostgreSQL as its database, behind an Nginx reverse proxy with SSL enabled. Here are a few final considerations. Visit the website:
https://mattermost.example.com
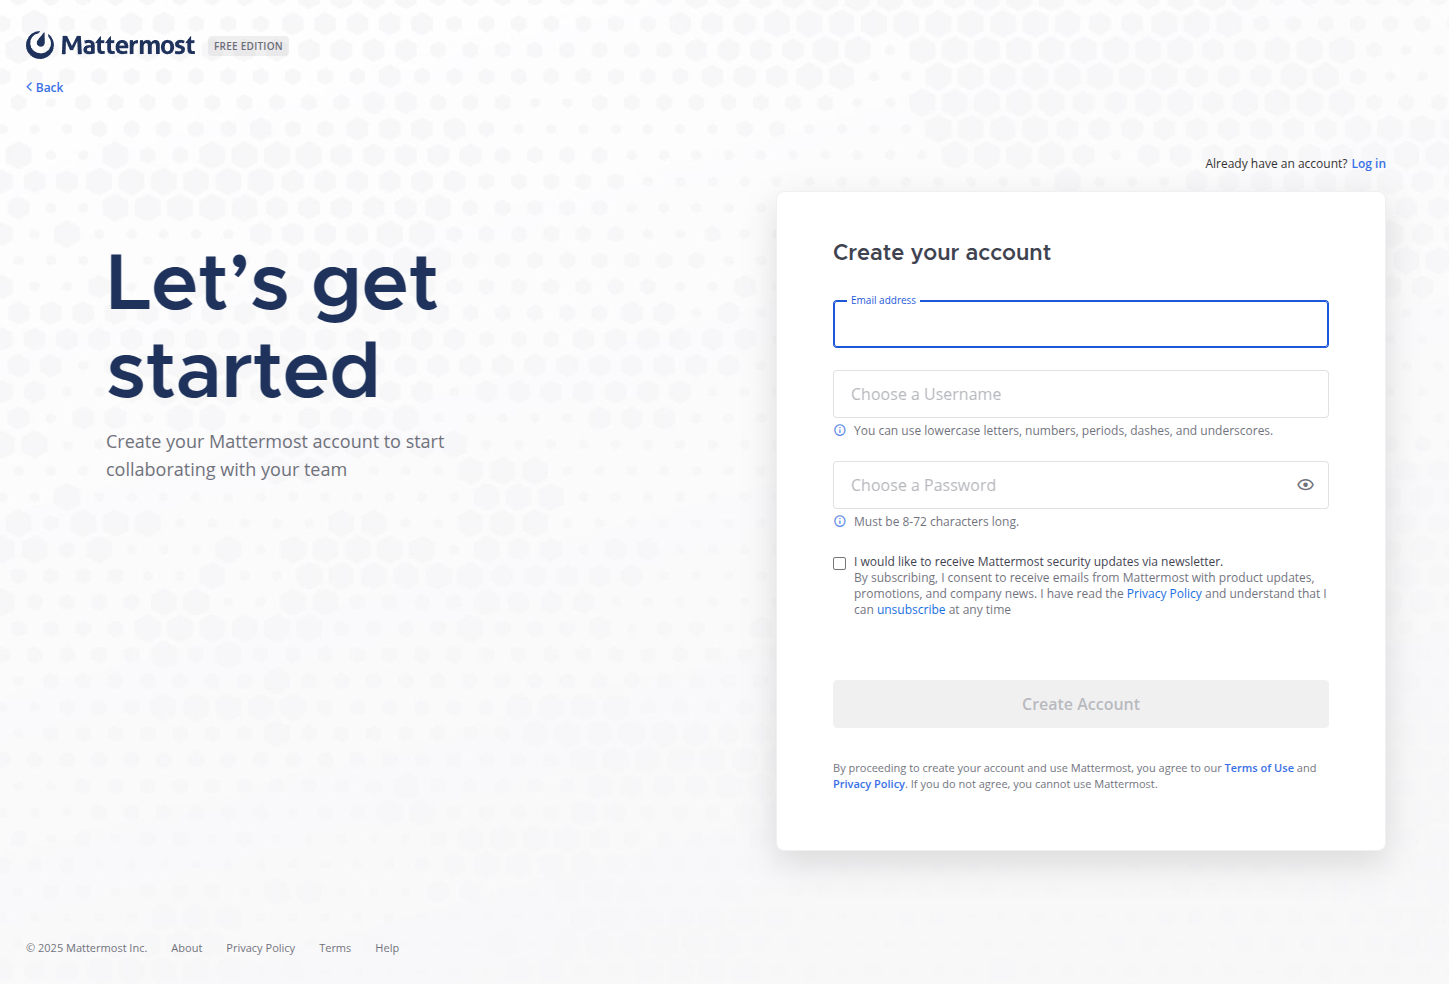
Mattermost Web Setup: Open your browser and navigate to your domain (https://mattermost.example.com). Follow the on-screen instructions to complete the Mattermost initial configuration (such as creating an admin account and setting up team details).
Troubleshooting: If you experience issues:
- Check Mattermost logs at /opt/mattermost/logs/.
- Use sudo journalctl -u mattermost to view service logs.
- Verify PostgreSQL connectivity and user privileges if database errors occur.
Conclusion
In this tutorial, we've learnt how to set up Mattermost on Ubuntu 24.04 server using PostgreSQL as your database backend. With Mattermost running as a system service, Nginx acting as a reverse proxy, and SSL provided by Certbot, your team communication platform is secure, efficient, and self-hosted. This setup gives you the control and privacy benefits over cloud-based solutions while offering the flexibility to customize your environment to your needs.
