
This comprehensive tutorial guides you through the process of installing WordPress on AlmaLinux 9, using MariaDB as the database server and Nginx as the web server.
Learn how to secure your WordPress site with a free SSL certificate from Let's Encrypt, ensuring your website is both powerful and secure. Follow these step-by-step instructions to set up a robust WordPress environment on AlmaLinux 9.
Step 1: Update Your System
Start by updating your AlmaLinux 9 system to ensure all packages are up to date.
sudo dnf update -y
Step 2: Install Nginx
Nginx will serve as the web server for your WordPress site.
sudo dnf install nginx -y
Enable and start the Nginx service.
sudo systemctl enable nginx
sudo systemctl start nginx
Step 3: Install MariaDB
MariaDB will be used as the database server for WordPress.
sudo dnf install mariadb-server mariadb -y
Enable and start the MariaDB service.
sudo systemctl enable mariadb
sudo systemctl start mariadb
Secure MariaDB Installation
Run the mysql_secure_installation script to improve the security of your MariaDB installation.
sudo mysql_secure_installation
You will be prompted to enter the root password, remove anonymous users, disallow root login remotely, remove the test database, and reload the privilege tables.
Step 4: Create a Database for WordPress
Log in to the MariaDB shell as the root user.
sudo mysql -u root -p
Create a new database and user for WordPress, and grant the necessary permissions.
CREATE DATABASE wordpress;
CREATE USER 'wordpressuser'@'localhost' IDENTIFIED BY 'your_password';
GRANT ALL PRIVILEGES ON wordpress.* TO 'wordpressuser'@'localhost';
FLUSH PRIVILEGES;
EXIT;
Step 5: Install PHP and Required Extensions
WordPress requires PHP and several PHP extensions to run properly. Install them using the following command:
sudo dnf install php php-fpm php-mysqlnd php-json php-gd php-xml php-mbstring php-curl php-zip -y
Configure PHP-FPM
Edit the PHP-FPM configuration file to set the user and group to nginx.
sudo nano /etc/php-fpm.d/www.conf
Find the user and group lines and set them to nginx:
user = nginx
group = nginx
Save and close the file, then enable and start PHP-FPM.
sudo systemctl enable php-fpm
sudo systemctl start php-fpm
Step 6: Download WordPress
Navigate to the web root directory and download the latest version of WordPress.
cd /usr/share/nginx/
sudo wget https://wordpress.org/latest.tar.gz
sudo tar -xzvf latest.tar.gz
sudo mv wordpress html
Set the correct ownership for the WordPress files.
sudo chown -R nginx:nginx /usr/share/nginx/html/wordpress
Step 7: Configure Nginx for WordPress
Create a new Nginx configuration file for your WordPress site.
sudo nano /etc/nginx/conf.d/wordpress.conf
Add the following configuration:
server {
    listen 80;
    server_name your_domain.com;
    root /usr/share/nginx/html/wordpress;

    index index.php index.html index.htm;

    location / {
        try_files $uri $uri/ /index.php?$args;
    }

    location ~ \.php$ {
        try_files $uri =404;
        fastcgi_split_path_info ^(.+\.php)(/.+)$;
        fastcgi_pass unix:/run/php-fpm/www.sock;
        fastcgi_index index.php;
        fastcgi_param SCRIPT_FILENAME $document_root$fastcgi_script_name;
        include fastcgi_params;
    }

    location ~ /\.ht {
        deny all;
    }
}
Save and close the file, then test the Nginx configuration.
sudo nginx -t
If the test is successful, restart Nginx.
sudo systemctl restart nginx
Step 8: Securing with SSL
First, you'll need to install Certbot and the Nginx plugin.
sudo dnf install certbot python3-certbot-nginx -y
Obtain an SSL Certificate. Use Certbot to obtain an SSL certificate.
sudo certbot --nginx -d your_domain.com
Certbot will automatically configure Nginx to use the obtained SSL certificate and redirect HTTP traffic to HTTPS.
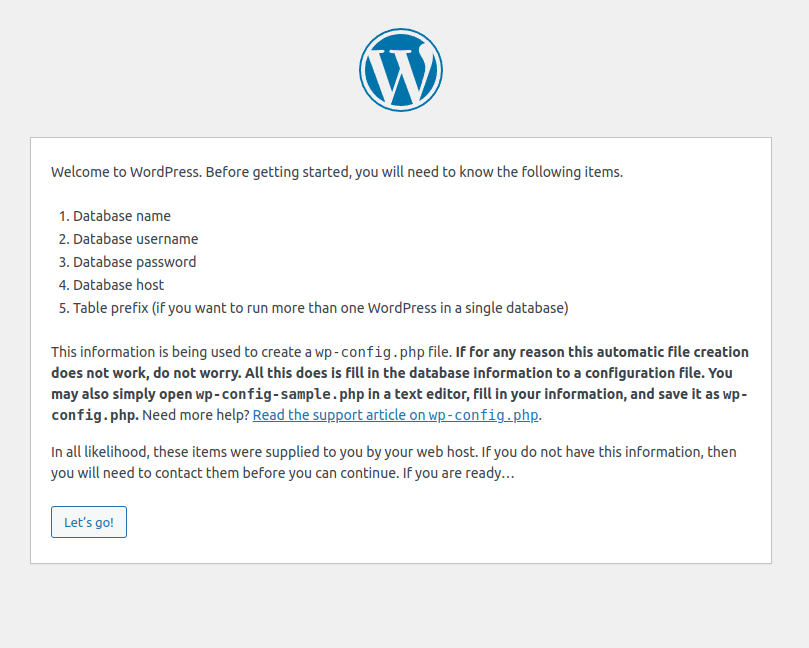
Step 9: Complete the WordPress Installation
Open a web browser and navigate to http://your_domain.com. You should see the WordPress installation page.
Follow the on-screen instructions to complete the installation. You will need to enter the database name, database user, and database password that you created earlier.
Once the installation is complete, you can log in to the WordPress admin dashboard and start building your website.
Note:
Unable to write to wp-config.php file
If you receive following message after you enter database details, follow this steps
Create new file using following command:
vi /usr/share/nginx/html/wordpress/wp-config.php
Navigate to your browser and copy content after Configuration rules for wp-config.php: message. There is box and navigate to your terminal add in the wp-config.php file.
Save and exit it.
Navigate to your browser again and click Run the installation button.
It will ask you some question and enter the admin username and password and click install button or the button down that form.
Once it done, it will show Success! WordPress has been installed. Thank you, and enjoy! message. Click login link and enter admin username and password
That's it. We have successfully installed WordPress on AlmaLinux 9
Conclusion
You have successfully installed WordPress on AlmaLinux 9 with MariaDB and Nginx. This setup provides a powerful and flexible platform for building and managing your website.
