
In this tutorial, we'll explain how to install and configure PHP-FPM on AlmaLinux 9.
Learn how to install and configure PHP-FPM on AlmaLinux 9 with this step-by-step guide. This tutorial covers updating your system, enabling necessary repositories, installing PHP-FPM, and configuring both PHP-FPM and Nginx to work seamlessly together. Perfect for web developers and system administrators looking to set up a reliable and efficient PHP environment on AlmaLinux 9.
Step 1: Update the System
First, ensure your system is up to date:
sudo dnf update -y
Step 2: Install PHP and PHP-FPM
Now, install PHP-FPM using the following command:
sudo dnf install php-fpm -y
Verify PHP Installation
Check the installed PHP-FPM version to ensure it was installed correctly:
php-fpm -v
Output:
PHP 8.0.30 (fpm-fcgi) (built: Aug  3 2023 17:13:08)
Copyright (c) The PHP Group
Zend Engine v4.0.30, Copyright (c) Zend Technologies
Step 3: Edit the PHP-FPM Pool Configuration
The main configuration file for PHP-FPM pools is located in /etc/php-fpm.d/. By default, there is a www.conf file for the default pool. Open this file to edit:
sudo nano /etc/php-fpm.d/www.conf
Ensure that the user and group settings match the web server you are using (e.g., nginx):
user = nginx
group = nginx
Set the Listen Mode
Make sure PHP-FPM listens on the correct socket or port. For Nginx, it is usually a Unix socket. Find and set the listen directive:
listen = /run/php-fpm/www.sock
If you prefer to use a TCP/IP socket, change it to:
listen = 127.0.0.1:9000
Set Listen Owner and Group if you are using TCP/IP socket.
Ensure the socket has the correct permissions by setting the listen owner, group, and mode:
listen.owner = nginx
listen.group = nginx
listen.mode = 0660
Set Up Process Management
Configure process management settings. The default settings are often suitable, but you can adjust them based on your server’s needs:
pm = dynamic
pm.max_children = 50
pm.start_servers = 5
pm.min_spare_servers = 5
pm.max_spare_servers = 35
Alternatively, you can use pm = ondemand to start PHP-FPM processes on-demand:
pm = ondemand
pm.max_children = 50
pm.process_idle_timeout = 10s
You can adjust PHP settings by editing the PHP configuration files. The main configuration file is located at /etc/php.ini. For example, to increase the memory limit, open the file:
sudo nano /etc/php.ini
Then, find and set the memory limit:
memory_limit = 256M
Other common settings you might want to adjust include upload_max_filesize, post_max_size, max_execution_time, etc.
After making these changes, restart the PHP-FPM service to apply the new configuration:
sudo systemctl restart php-fpm
Verify that PHP-FPM is running correctly:
sudo systemctl status php-fpm
Step 4: Configure Nginx to Use PHP-FPM
If Nginx not installed in the server, install it using dnf install nginx -y.
Make sure your Nginx configuration is set to use the PHP-FPM socket. Edit the Nginx server block configuration file:
sudo nano /etc/nginx/conf.d/default.conf
Ensure the following lines are present and correctly configured. Replace your_domain_or_IP with your domain.:
server {
    listen       80;
    server_name  your_domain_or_IP;

    root   /usr/share/nginx/html;
    index  index.php index.html index.htm;

    location / {
        try_files $uri $uri/ =404;
    }

    location ~ \.php$ {
        try_files $uri =404;
        fastcgi_pass unix:/run/php-fpm/www.sock;
        fastcgi_index index.php;
        fastcgi_param SCRIPT_FILENAME $document_root$fastcgi_script_name;
        include fastcgi_params;
    }
}
If you are using TCP/IP socket:
location ~ \.php$ {
    try_files $uri =404;
    fastcgi_pass 127.0.0.1:9000;
    fastcgi_index index.php;
    fastcgi_param SCRIPT_FILENAME $document_root$fastcgi_script_name;
    include fastcgi_params;
}
Restart Nginx to apply the changes:
sudo nginx -t
sudo systemctl restart nginx
Step 5: Test Configuration
Create a test PHP file to ensure PHP-FPM is working correctly:
sudo nano /usr/share/nginx/html/info.php
Add the following PHP code:
<?php
phpinfo();
?>
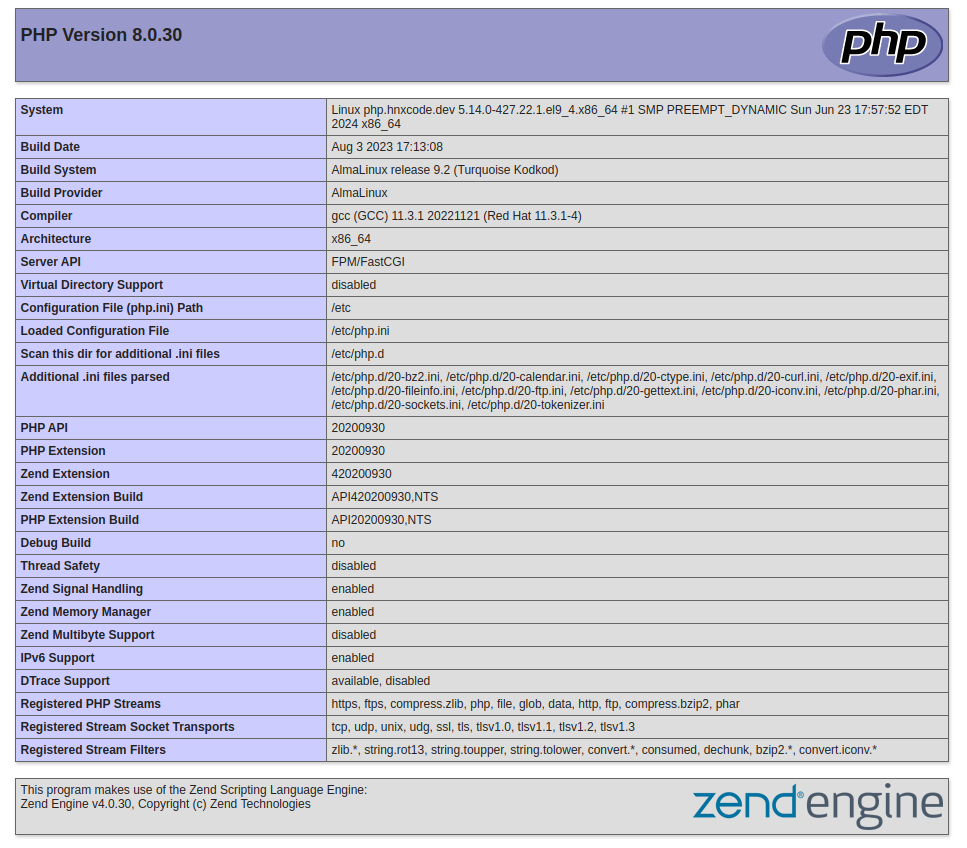
Open a web browser and go to http://your_domain_or_IP/info.php. You should see the PHP information page.
Cleanup
Once you have confirmed that PHP-FPM is working, remove the test PHP file to prevent exposing sensitive information:
sudo rm /usr/share/nginx/html/info.php
By following these steps, we have seen how to install and configure PHP-FPM on AlmaLinux 9.
Checkout our dedicated servers and KVM VPS
