
In this tutorial, we'll explain how to install and configure InfluxDB v2 on AlmaLinux 9. It's time series data. We'll install InfluxCLI, and Nginx for reverse proxy server, and Let's Encrypt Certbot for SSL certificate.
InfluxDB v2 is a powerful open-source time series database designed for high-performance data storage, retrieval, and analysis. It is tailored for handling large volumes of time-stamped data, making it ideal for use cases such as monitoring, observability, and IoT data management. The key enhancements in InfluxDB v2 include a new query language called Flux, a more streamlined and efficient data model, and a unified API for writing and querying data.
One of the significant changes in InfluxDB v2 is the introduction of the integrated InfluxDB 2.0 platform, which combines the core database with tools like InfluxDB UI, Chronograf, Telegraf, and Kapacitor into a single cohesive package. This integration allows users to collect, visualize, and analyze data more efficiently.
The web-based user interface simplifies database management and provides rich data visualization capabilities. The use of Flux as the query language enhances flexibility in data analysis, offering more advanced features compared to the traditional InfluxQL.
Prerequisites
- An AlmaLinux 9 installed dedicated server or KVM VPS
- Basic knowledge of Linux commands
- A root user access or normal user with administrative privileges
Step 1: Update the System
First, update your system to ensure all packages are up-to-date.
sudo dnf update -y
Step 2: Install InfluxDB v2
InfluxDB is not available in the default AlmaLinux repositories, so you need to add the InfluxData repository. For more information visit official download page.
Create a repository file:
cat <<EOF | sudo tee /etc/yum.repos.d/influxdata.repo
[influxdata]
name = InfluxData Repository - Stable
baseurl = https://repos.influxdata.com/stable/\$basearch/main
enabled = 1
gpgcheck = 1
gpgkey = https://repos.influxdata.com/influxdata-archive_compat.key
EOF
Save and exit the file.
Install InfluxDB using the dnf package manager.
sudo yum install influxdb2 -y
After installing InfluxDB, start the service and enable it to start on boot.
sudo systemctl start influxdb
sudo systemctl enable influxdb
Verify that InfluxDB is running:
sudo systemctl status influxdb
Step 3: Install InfluxDB CLI
Next, we need to download InfluxDB CLI. Visit official website for latest version. Execute following command to download InfluxDB CLI:
wget https://download.influxdata.com/influxdb/releases/influxdb2-client-2.7.5-linux-amd64.tar.gz
Install the CLI tool
sudo cp influx /usr/local/bin/
Verify the installation
influx version
Output:
Influx CLI dev (git: a79a2a1b825867421d320428538f76a4c90aa34c) build_date: 2024-04-16T14:34:32Z
Step 4: Set up InfluxDB 2
InfluxDB v2 comes with a setup wizard to help you get started.
Run the setup command:
influx setup
Follow the prompts to set up your initial user, organization, and bucket. Example prompts and responses:
> Welcome to InfluxDB 2.0!
? Please type your primary username admin
? Please type your password *********
? Please type your password again ********
X Sorry, your reply was invalid: Passwords do not match
? Please type your password *********
? Please type your password again *********
? Please type your primary organization name my_org
? Please type your primary bucket name my_bucket
? Please type your retention period in hours, or 0 for infinite 1
? Setup with these parameters?
  Username:          admin
  Organization:      my_org
  Bucket:            my_bucket
  Retention Period:  1h0m0s
 Yes
User    Organization    Bucket
admin    my_org        my_bucket
InfluxDB setup has been completed.
Step 5: Configure Firewall and SELinux
We need to add HTTP and HTTPS ports in the firewall. Execute following command:
firewall-cmd --add-port=80/tcp --permanent
firewall-cmd --add-port=443/tcp --permanent
firewall-cmd --reload
Next if you have enabled SELinux, follow this step. To allow Nginx to work correctly under SELinux, you need to set the appropriate SELinux policies.
sudo setsebool -P httpd_can_network_connect 1
Step 6: Install and Configure Nginx for InfluxDB v2
First, install Nginx on your AlmaLinux 9 server.
sudo dnf install nginx -y
Start and enable Nginx:
sudo systemctl start nginx
sudo systemctl enable nginx
Verify Nginx is running:
sudo systemctl status nginx
Next, we need to configure Nginx to proxy requests to InfluxDB.
Create a new Nginx configuration file for InfluxDB:
sudo nano /etc/nginx/conf.d/influxdb.conf
Add the following configuration:
server {
    listen 80;
    server_name your_domain;

    location / {
        proxy_pass http://localhost:8086;
        proxy_set_header Host $host;
        proxy_set_header X-Real-IP $remote_addr;
        proxy_set_header X-Forwarded-For $proxy_add_x_forwarded_for;
        proxy_set_header X-Forwarded-Proto $scheme;
    }
}
Note: Replace your_domain with your server's domain name.
Save and exit the file.
Test the Nginx configuration:
sudo nginx -t
Reload Nginx to apply the new configuration:
sudo systemctl reload nginx
Step 7: Install Certbot for SSL
We'll use Certbot to obtain and install SSL certificates from Let's Encrypt.
sudo dnf install certbot python3-certbot-nginx -y
Use Certbot to obtain and install SSL certificates.
Run Certbot:
sudo certbot --nginx -d your_domain
Follow the prompts to complete the setup. Certbot will automatically configure Nginx to use the obtained SSL certificates.
Let's Encrypt certificates are valid for 90 days, so it's essential to set up auto-renewal.
Create a cron job to renew the certificates:
sudo crontab -e
Add the following line to the crontab file to run the renewal twice a day:
0 0,12 * * * /usr/bin/certbot renew --quiet
This cron job will check for certificate renewal twice daily and renew them if needed.
Step 8: Verify Setup
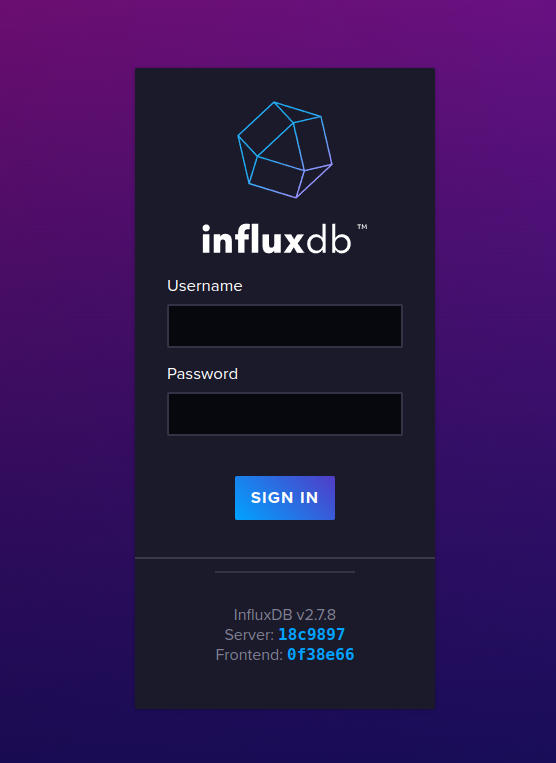
You can verify your setup by accessing the InfluxDB web interface. Open your browser and navigate to https://your_domain. Log in with the username and password you created during setup.
Conclusion
You have successfully seen how to install and configure InfluxDBv2 on AlmaLinux 9 Time Series Data. You can now start using InfluxDB for storing and querying time series data. For more advanced configurations and usage, refer to the official InfluxDB documentation.
Feel free to reach out if you have any questions or need further assistance.
