
In this tutorial, we'll explain how to install Apache Tomcat 10 on Ubuntu 24.04 for Java Applications.
Learn how to install and configure Apache Tomcat on your Linux server with this comprehensive step-by-step tutorial. From installing Java and downloading Tomcat to setting up a dedicated user and configuring access, this guide covers everything you need to deploy and manage your Java applications efficiently.
Overcome common issues like the "403 Access Denied" error with detailed troubleshooting tips and ensure your Tomcat server is ready for production use. Perfect for developers and system administrators looking to enhance their web server setup.
Install Apache Tomcat on Ubuntu
Step 1: Update Your System
First, ensure your system is up-to-date.
sudo apt update
sudo apt upgrade -y
Step 2: Install Java
Apache Tomcat requires Java to run. You can install OpenJDK, an open-source implementation of the Java Platform.
sudo apt install openjdk-17-jdk -y
Verify the installation:
java -version
Step 3: Create a Tomcat User
For security purposes, create a separate user for running Tomcat.
sudo useradd -m -U -d /opt/tomcat -s /bin/false tomcat
Step 4: Download Apache Tomcat
Download the latest version of Apache Tomcat from the official website.
cd /tmp
wget https://dlcdn.apache.org/tomcat/tomcat-10/v10.1.26/bin/apache-tomcat-10.1.26.tar.gz
Step 5: Install and Configure Tomcat
Extract the Tomcat package and move it to the /opt/tomcat directory.
sudo mkdir /opt/tomcat
sudo tar -xzf apache-tomcat-10.1.26.tar.gz -C /opt/tomcat --strip-components=1
Set the appropriate permissions for the Tomcat directories.
sudo chown -R tomcat: /opt/tomcat
sudo chmod -R u+x /opt/tomcat/bin
Create a systemd service file to manage the Tomcat service.
sudo nano /etc/systemd/system/tomcat.service
Add the following content to the file:
[Unit]
Description=Apache Tomcat Web Application Container
After=network.target

[Service]
Type=forking

User=tomcat
Group=tomcat

Environment="JAVA_HOME=/usr/lib/jvm/java-17-openjdk-amd64"
Environment="CATALINA_PID=/opt/tomcat/temp/tomcat.pid"
Environment="CATALINA_HOME=/opt/tomcat"
Environment="CATALINA_BASE=/opt/tomcat"
Environment="CATALINA_OPTS=-Xms512M -Xmx1024M -server -XX:+UseParallelGC"
Environment="JAVA_OPTS=-Djava.awt.headless=true -Djava.security.egd=file:/dev/./urandom"

ExecStart=/opt/tomcat/bin/startup.sh
ExecStop=/opt/tomcat/bin/shutdown.sh

[Install]
WantedBy=multi-user.target
Reload the systemd daemon and start the Tomcat service.
sudo systemctl daemon-reload
sudo systemctl start tomcat
Enable Tomcat to start on boot:
sudo systemctl enable tomcat
Step 6: Adjust the Firewall
If you have a firewall enabled, allow traffic on port 8080.
sudo ufw allow 8080
sudo ufw reload
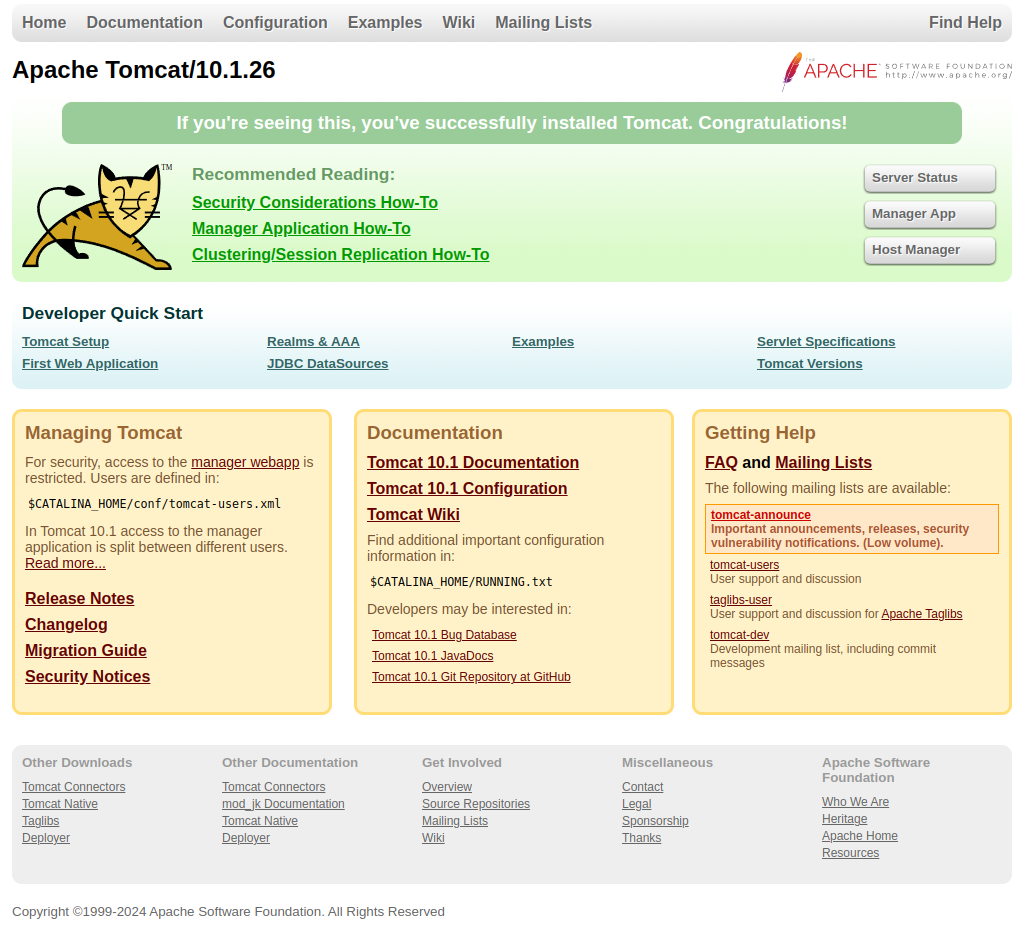
Step 7: Verify the Installation
Open a web browser and go to http://your_server_ip:8080. You should see the Apache Tomcat welcome page.
Step 8: Configure Tomcat Web Management Interface (Optional)
To access the Tomcat Web Management Interface, you need to configure the users. Edit the tomcat-users.xml file:
sudo nano /opt/tomcat/conf/tomcat-users.xml
Add the following lines before the </tomcat-users> line:
<role rolename="manager-gui"/>
<role rolename="admin-gui"/>
<user username="admin" password="password" roles="manager-gui,admin-gui"/>
Note: Replace admin and password with your preferred username and password.
Tomcat's web.xml file for the Manager application controls access. By default, the Manager application is restricted to certain IP addresses. To allow access, you might need to configure the context.xml file for the Manager application.
Edit the context.xml file for the Manager application:
sudo nano /opt/tomcat/webapps/manager/META-INF/context.xml
Comment out or modify the Valve section to allow access from all IP addresses or specific IP addresses:
<!--
<Valve className="org.apache.catalina.valves.RemoteAddrValve"
       allow="127\.\d+\.\d+\.\d+|::1|0:0:0:0:0:0:0:1"/>
-->
Alternatively, if you only want to allow access from specific IP addresses, you can list them in the allow attribute. For example:
<Valve className="org.apache.catalina.valves.RemoteAddrValve"
       allow="127\.\d+\.\d+\.\d+|::1|0:0:0:0:0:0:0:1|YOUR_IP_ADDRESS"/>
Replace YOUR_IP_ADDRESS with the actual IP address you want to allow access from.
Restart the Tomcat service to apply the changes.
sudo systemctl restart tomcat
Now, you can access the Tomcat Manager and Host Manager interfaces at:
Tomcat Manager: http://your_server_ip:8080/manager/html
Host Manager: http://your_server_ip:8080/host-manager/html
Log in with the username and password you configured in the tomcat-users.xml file.
Conclusion
You have successfully installed and configured Apache Tomcat 10 on Ubuntu 24.04 server. You can now deploy your Java applications on the Tomcat server.
