
Learn to deploy Java apps on Ubuntu with Tomcat & Nginx.
Deploying Apache Tomcat for Java applications on Ubuntu 24.04 can be a straightforward process if you understand each step’s significance and the best practices involved. Below is a deep dive into everything you need to get Tomcat up and running, from installing the prerequisites to deploying your first Java web application.
1. Understanding What Tomcat Is and Why It’s Important
Apache Tomcat is an open-source web server and servlet container designed to serve Java-based web applications. It implements Java Servlet, JavaServer Pages (JSP), and other Java-based web technologies. When you have Java-based web apps to host, Tomcat is a reliable and easy-to-manage choice.
Servlet Container: A dedicated environment where your Java servlets and JSP pages can run safely.
Web Server: Tomcat is also capable of serving static files like HTML, CSS, and JavaScript.
Using Tomcat ensures that your Java applications run in a stable, high-performance environment.
2. Prerequisites and Initial Server Setup
Before proceeding, make sure you have the following in place:
- A Fresh Ubuntu 24.04 dedicated server or KVM VPS.
- Root or Sudo Privileges: You should have sudo privileges to install packages and make system-wide changes.
- A Valid Domain Name (Optional but Recommended)
If you don’t already have your firewall set up, you can enable it with:
sudo ufw enable
Then allow SSH, HTTP, and HTTPS traffic:
sudo ufw allow ssh
sudo ufw allow http
sudo ufw allow https
Deploy Java Apps on Ubuntu with Tomcat & Nginx
3. Installing Java on Ubuntu 24.04
Apache Tomcat requires Java to run. You can choose between OpenJDK (the open-source version) and Oracle’s Java, but for most users, OpenJDK is sufficient and easier to maintain.
Update your package index:
sudo apt update
Install OpenJDK (commonly you want version 11 or 17, depending on your application’s requirements):
sudo apt install openjdk-17-jdk
This installs the Java Development Kit (JDK). If your application only needs to run (and doesn’t require development tools), you could install only the Java Runtime Environment (JRE), but the JDK is often more versatile.
Verify Java Installation:
java -version
You should see output displaying the installed Java version, for example:
openjdk version "17.0.x" ...
4. Creating a Dedicated Tomcat User (Recommended for Security)
For better security, it’s a best practice to run Tomcat under a dedicated user who has minimal privileges.
Create the Tomcat Group:
sudo groupadd tomcat
Create the Tomcat User:
sudo useradd -s /bin/false -g tomcat -d /opt/tomcat tomcat
Here, -s /bin/false prevents this user from logging into the system. The user’s home directory is set to /opt/tomcat (which we will create soon).
5. Downloading and Installing Tomcat
Find the Latest Version: Head over to the Apache Tomcat official website (or the version you need: 8, 9, 10, or 11). In this tutorial, let’s assume Tomcat 10 is our target.
Download Tomcat: We’ll download the latest Tomcat 11 release directly to our server. Typically, it’s in the form of a .tar.gz archive. For example:
cd /tmp
wget https://dlcdn.apache.org/tomcat/tomcat-11/v11.0.4/bin/apache-tomcat-11.0.4.tar.gz
Create the Tomcat Installation Directory:
sudo mkdir /opt/tomcat
Extract the Archive:
sudo tar xzvf apache-tomcat-11.0.4.tar.gz -C /opt/tomcat --strip-components=1
--strip-components=1 removes the top-level folder inside the archive, so everything installs directly under /opt/tomcat.
Set Correct Permissions:
Change ownership so our tomcat user and group own the directory:
cd /opt/tomcat
sudo chown -R tomcat:tomcat /opt/tomcat
Allow read-execute permissions for the Tomcat group:
sudo chmod -R 755 /opt/tomcat
6. Configuring Tomcat as a Systemd Service
Running Tomcat as a systemd service means it starts automatically on server boot and can be controlled using commands like sudo systemctl start tomcat. This is very helpful for production deployments.
Create a Systemd Service File:
sudo nano /etc/systemd/system/tomcat.service
Paste the following (adjust paths if needed):
[Unit]
Description=Apache Tomcat Web Application Container
After=network.target

[Service]
Type=forking
User=tomcat
Group=tomcat
Environment="JAVA_HOME=/usr/lib/jvm/java-17-openjdk-amd64"
Environment="CATALINA_PID=/opt/tomcat/temp/tomcat.pid"
Environment="CATALINA_HOME=/opt/tomcat"
Environment="CATALINA_BASE=/opt/tomcat"
Environment="CATALINA_OPTS=-Xms512M -Xmx512M -server -XX:+UseParallelGC"
Environment="JAVA_OPTS=-Djava.awt.headless=true -Djava.security.egd=file:/dev/./urandom"

ExecStart=/opt/tomcat/bin/startup.sh
ExecStop=/opt/tomcat/bin/shutdown.sh

[Install]
WantedBy=multi-user.target
- Description: A short summary of your service.
- After: Ensures Tomcat starts only after network services are available.
- User/Group: Tells systemd to run Tomcat under the tomcat user and group.
- Environment Variables: Points Tomcat to the Java installation and configures memory settings.
- ExecStart/ExecStop: Scripts to start and stop Tomcat.
Reload the Systemd Daemon:
sudo systemctl daemon-reload
Start Tomcat:
sudo systemctl start tomcat
Enable Tomcat on Boot:
sudo systemctl enable tomcat
Check Tomcat’s Status:
sudo systemctl status tomcat
You should see active (running) if it started successfully.
7. Installing Nginx
Update Packages:
sudo apt update
Install Nginx:
sudo apt install nginx
Enable and Start Nginx:
sudo systemctl enable nginx
sudo systemctl start nginx
Check if Nginx is Running:
systemctl status nginx
You should see active (running) if it started successfully.
Create an Nginx Server Block
Instead of modifying Nginx’s default configuration file, it’s best practice to create a dedicated server block (sometimes referred to as a “virtual host” in Apache terminology). Let’s call the file tomcat.conf.
Create the Configuration File:
sudo nano /etc/nginx/sites-available/tomcat.conf
Add the Following Configuration:
server {
    # Listen on standard HTTP port 80
    listen 80;
    listen [::]:80;

    # Replace with your domain name
    server_name your_domain.com www.your_domain.com;

    # Define how Nginx should handle requests
    location / {
        # Pass the request to Tomcat running locally on port 8080
        proxy_pass http://127.0.0.1:8080/;
        proxy_http_version 1.1;
        proxy_set_header X-Forwarded-For $remote_addr;
        proxy_set_header X-Forwarded-Proto $scheme;
        proxy_set_header Host $host;
        # Optionally, for WebSocket support or other advanced features:
        # proxy_set_header Upgrade $http_upgrade;
        # proxy_set_header Connection "upgrade";
    }

    # Optionally, you could define additional locations or error pages
}
- listen 80;: Tells Nginx to listen for HTTP traffic on port 80.
- server_name: Add your domain(s). This is critical for matching the right server block.
- proxy_pass: Forwards traffic to your Tomcat server on localhost:8080.
- proxy_set_header lines: Ensure the client’s IP, protocol, and host name are forwarded properly.
Enable the Server Block:
sudo ln -s /etc/nginx/sites-available/tomcat.conf /etc/nginx/sites-enabled/
This creates a symbolic link from sites-available to sites-enabled, telling Nginx to use our new configuration.
Test Nginx Configuration:
sudo nginx -t
If you see syntax is ok and test is successful, you’re good to go.
Reload Nginx:
sudo systemctl reload nginx
Setting Up Let’s Encrypt with Certbot
Install Certbot and the Nginx Plugin:
sudo apt update
sudo apt install certbot python3-certbot-nginx
Obtain an SSL Certificate:
sudo certbot --nginx -d your_domain.com -d www.your_domain.com
- --nginx: Tells Certbot to use the Nginx installer plugin to automate certificate generation and renewal configuration.
- -d your_domain.com -d www.your_domain.com: Replace with your actual domain name(s).
You can test automatic renewal by running:
sudo certbot renew --dry-run
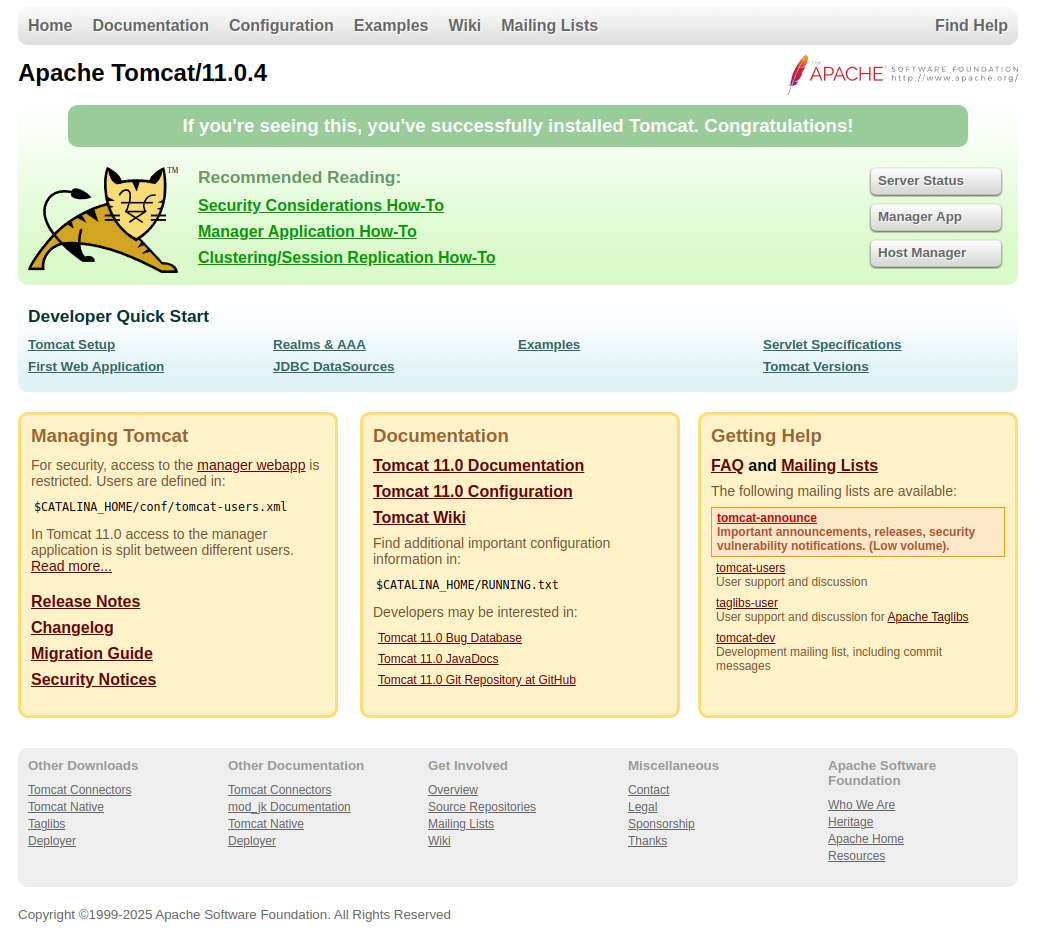
8. Verifying Tomcat Installation
Open a Web Browser and point it to:
https://your_domain.com
Tomcat Landing Page: If everything is correct, you’ll see the default Tomcat welcome page.
If you don’t see the page:
- Ensure the service is running: sudo systemctl status tomcat
- Check the firewall settings: Make sure port 8080 is open.
- Confirm your server IP address or domain name is correct.
9. Deploying a Java Web Application (WAR File)
A WAR (Web Application Archive) file is a package that includes all of your application’s servlets, JSPs, and resources. Deploying to Tomcat is as simple as copying your WAR to Tomcat’s webapps directory.
Build or Obtain Your WAR File:
Typically, this comes from a Maven or Gradle build. Let’s call it myapp.war.
Copy the WAR into Tomcat:
sudo cp myapp.war /opt/tomcat/webapps/
Tomcat Auto-Deployment:
By default, Tomcat automatically deploys WAR files placed in the webapps folder. Give it a few seconds to expand. You can watch the logs with:
tail -f /opt/tomcat/logs/catalina.out
If you see messages about deploying the application, it’s working.
Access Your Application:
In a browser, go to:
https://your_domain.com/myapp/
Replace myapp with the context path. If the WAR name is myapp.war, Tomcat uses /myapp as the default context path.
10. Managing Tomcat Users and the Manager App
Tomcat includes a Manager and Host Manager application to help you manage deployed apps. By default, these are secured. You can enable them in the tomcat-users.xml file:
Open the Tomcat Users File:
sudo nano /opt/tomcat/conf/tomcat-users.xml
Add Roles and Users: For example:
<tomcat-users>
  <role rolename="manager-gui"/>
  <role rolename="admin-gui"/>
  <user username="tomcat_admin" password="VerySecurePassword" roles="manager-gui,admin-gui"/>
</tomcat-users>
- manager-gui: Grants access to the manager web interface.
- admin-gui: Grants access to the host manager web interface.
Restart Tomcat for the changes to take effect:
sudo systemctl restart tomcat
Access the Manager App:
https://your_domain.com/manager/html
You’ll be prompted for the username (tomcat_admin) and password you set.
11. Tips for Troubleshooting
- Log Files: Check the Tomcat logs in /opt/tomcat/logs/ for clues (catalina.out, localhost_access_log.*, etc.).
- sudo systemctl status tomcat – Check if Tomcat is active.
- sudo systemctl restart tomcat – Restart Tomcat if changes were made.
- Java Version Incompatibility: If your application requires an older or newer Java version, ensure you’ve installed the correct JDK.
- Port Conflicts: If another service is using port 8080, you can change Tomcat’s connector port in /opt/tomcat/conf/server.xml.
Conclusion
By following these steps, you have installed and set up Apache Tomcat on Ubuntu 24.04 server, created a dedicated user for security, configured Tomcat to run as a service, and deployed a sample Java web application. Tomcat offers a robust environment for your Java apps, and with the addition of a reverse proxy or SSL, you can handle production-ready traffic.
Remember to keep your server up to date (sudo apt update && sudo apt upgrade), monitor logs for issues, and practice secure configuration management. With the core setup complete, you’re ready to confidently deploy Java applications on your Ubuntu 24.04 server using Apache Tomcat.
